
JTop
Junior Member
- Messages
- 47
Curving my procrastination of my university assignments, I'll do a quick update
Have gotten a few things done over the past few weeks over a day or two each week.
How one of the tables look like, full of parts to be cleaned")

ANYWAY
From last update, I did manage to remove the dowel in the crank, it was easier than I thought with a small punch and a light tap to that. Oil cover came off.
The two broken bolts in the waterpump had me furious... I had gotten both drilled through and well I made a rookie error on both..
Given I had my father attempt to drill and extract one, tip of the extractor broke with no effort(I should have listened here) and after this he raged and given up, I attempted the other, SLOWLY but surely I managed to get through to the end of the bolt(touched some sort of antiseize, which didn't help for how long the car sat...) and I pumped it with Wurth Rost off and WD-40. Waited a good half hour and still got the left hand extractor snapped with barely any force applied... Honestly, it just broke after being inserted and not even 1/16 turned... Snapped clean. and I returned the kit and seen similar reviews online about it. $90 Sutton Screw extractor kit. Absolute junk... I would have spent $$$ for a good kit honestly... Like I need one in the off chance of this happening, more than happy to invest in it. Anyway... After this ordeal I left it for a few days pretty angry...
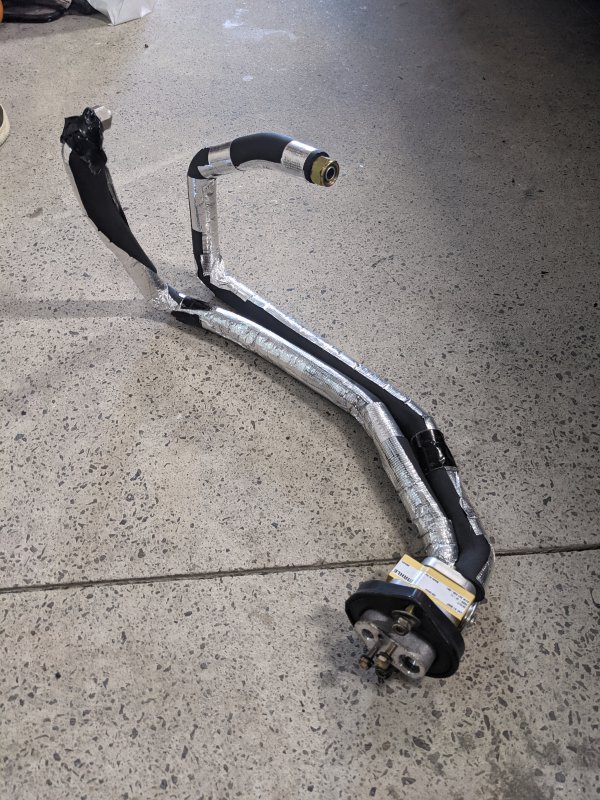
So anyway, I had things Hydroblasted and they look spectacular, pity once a bit of heat gets into these they'll look bland The new Fuel hoses are off to the side, need to take a photo of those too!
All these pieces need to be painted, still deciding if I go with the original look, red covers and Quarzo Dolomite for the coilpack and intake manifold covers... Maybe black, but that doesn't suit well as nicely.. No idea yet, why they are still sitting exactly where they are (GIVE ME SOME IDEAS?!)
I have another basket almost ready to go, just sorting the last few things.. then all the zinc coated pieces go to the next shop to be recoated! That reminds me

If anyone knows how to dismantle the AC compressor clutch, and just the clutch, would be awesome because it definitely has the fire retardant in it given the alternator was flooded and I have that split and hopefully hydro blasted fresh!
I feel like I need a special tool that goes into the three small holes next to the shaft and then presses on the shaft to remove the cover, and well.. The wheel and the rest is easy from there from what I'd imagine.


So I recently received the Carrillo pistons for my nugget VW Polo build and went to drop it off at Dandy Engines in Carrum Downs and well.. I asked if they could be able to extract the two bolts out. They said it's possible so I ran home after squeezing out the parking lot, loaded the block and all the lower end bits into the car with my brother(bloody heavy this thing) and drove back down just before they closed for the day. They then told me everything had to be removed from the rest of the block in order to extract the two bolts... I CAN'T BELIEVE IT FFS!!!! Anyway I said go for it, not much else I can do but with that check the specifications, hydroblast and get it together, I'll do the rest. So will see what that will cost... Just to remove two bolts because the water pump was missing its two locating dowels... I'M ANGRY AHHHHHHHHHHHHHHHHHHHHHHHHHHHHHHHHHHHHHHHHHHHHHHHHHHHHH
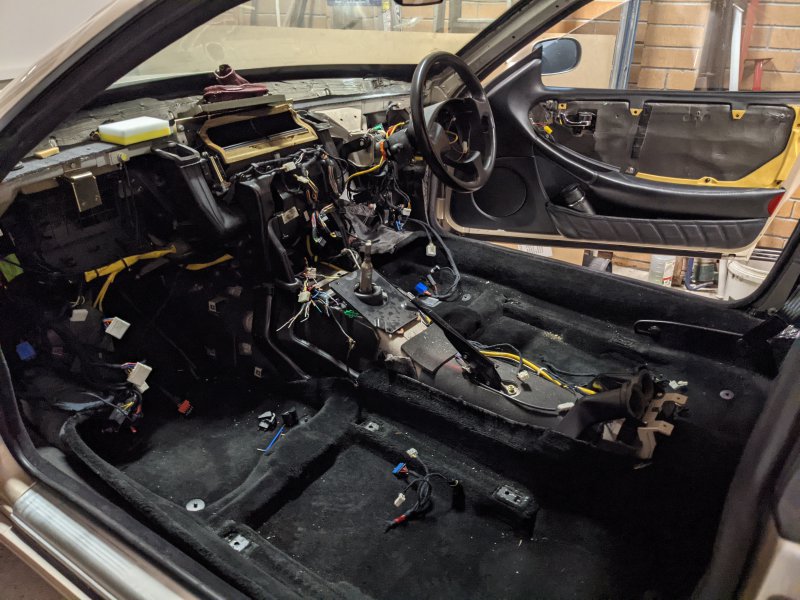
So with everything out, and the last bathroom vanity gone, I managed to get my TT table from out the back and open it up so I can get some work done. I spent quite a bit of time polishing parts, from the lower engine to all the accessories and small bits that had got some of the fire retardant on them. Stuff will get hydroblasted anyway, that's for the best condition. So I started on the wiring loom.. And well, after comparing plugs I believed it was possible to combine pre-facelift and facelift looms into one. and I'm almost right except there is one wire that was burnt... So I don't know the length on that.


I only cut parts of the burnt side, given I'll be running the exact correct length from the ECU connector to their location. I thought, this might be a good idea to also make notes on all the specifications; from wire gauge, length, colour and crimp terminal pins. And well.. If anyone might need a loom made up, I can do one from complete scratch, given I can find ECU connectors, because they are really the only ones I don't know the name of/can find. Majority are just Narva and JPT connectors... Nothing explicitly fancy and still readily available!
Since I have both styles, should be ok to make them given there are no other alternatives to these two
Anyway, in anticipation of the new turbo and to commence rebuilding, I dismantled the one that I might make a little statue out of haha
This is what happens when a rock or something touches a spinning compressor wheel, It must be stuck in the intercooler somewhere haha


I anyway want to have the turbo compressor side only, externally painted VHT or ceramic coated. Not sure which just yet, I've read about Calyx for coating too for there to be no fade/rust. Should look and function brilliantly
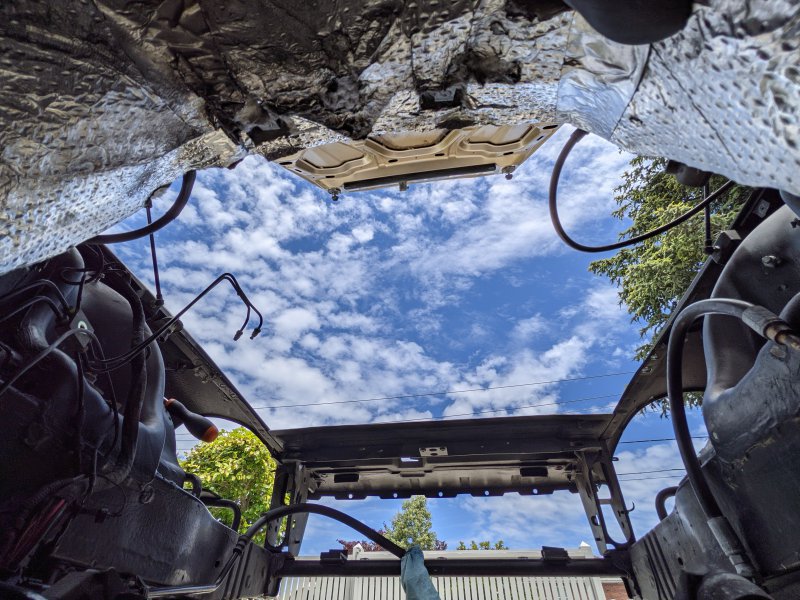
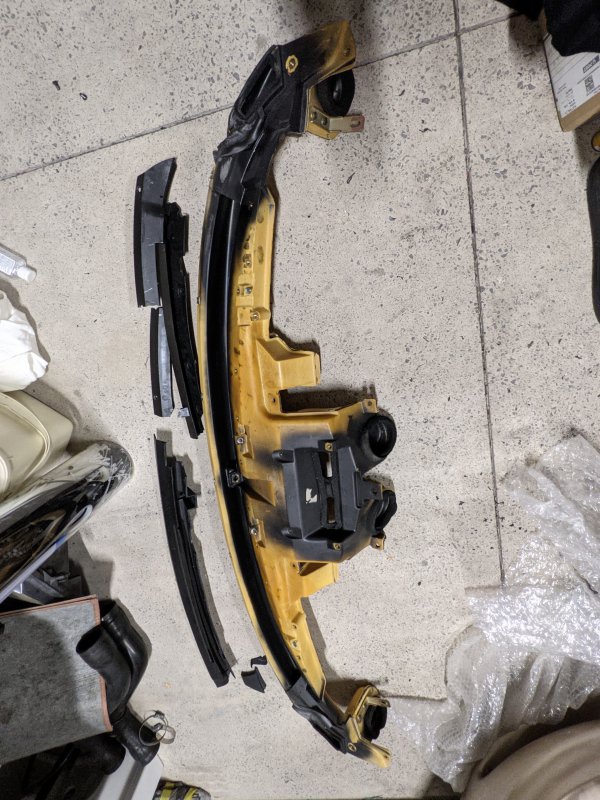
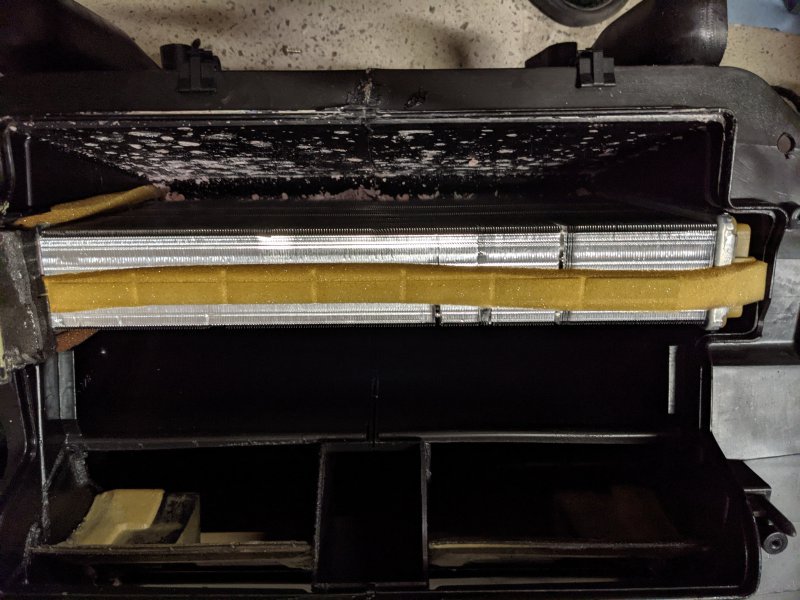
That's all for the moment, I'm thinking the 3D scanning of the vent might be the best, although I have contacted Italy and they have told me they can get a second hand one for me for 150€ and I'm just waiting for a photo of it.. Once I have it, I'll know if I will be getting a few of these made(or taking up that offer); if anyone needs either side vent let me know, I'll try get them made up then and cheaper than Eurospares 199£ for the LHS one and they don't have the RHS available anymore!
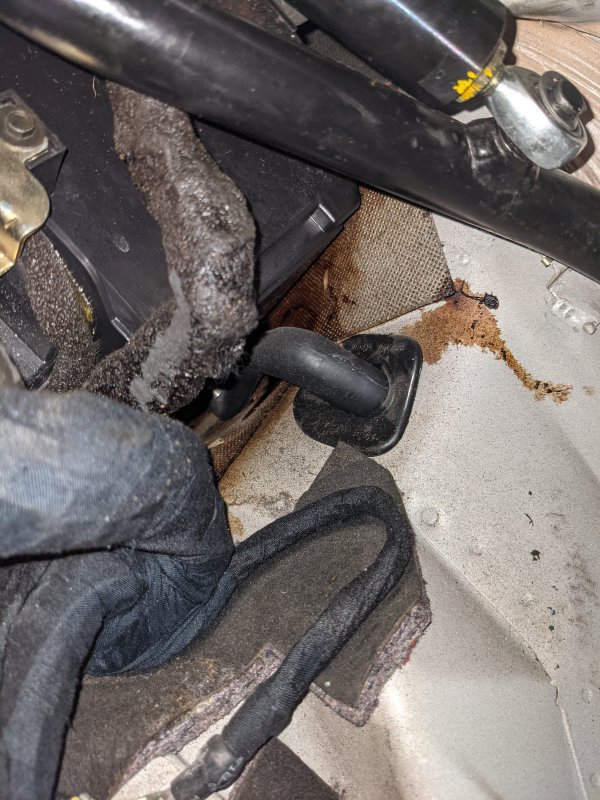
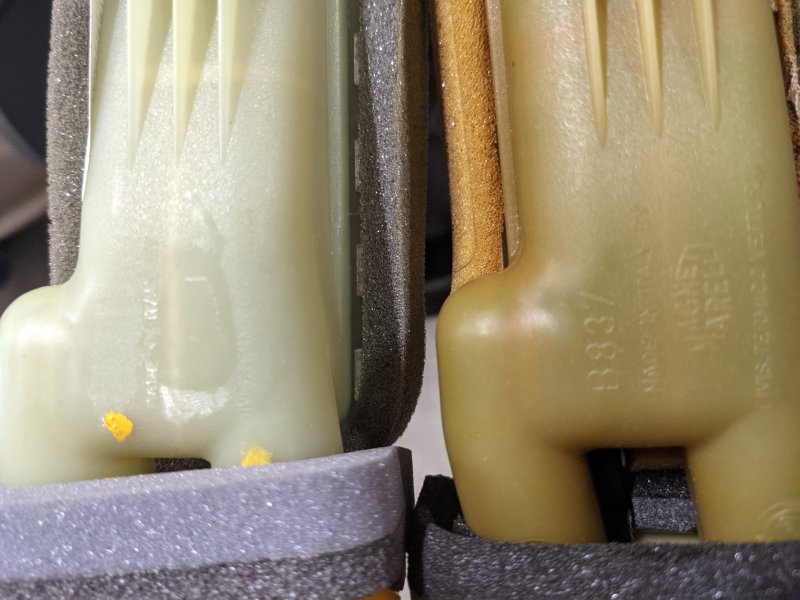
Here is a cool photo of what's left of the MAP sensor that was attached to the firewall
Cheers

Have gotten a few things done over the past few weeks over a day or two each week.
How one of the tables look like, full of parts to be cleaned
ANYWAY
From last update, I did manage to remove the dowel in the crank, it was easier than I thought with a small punch and a light tap to that. Oil cover came off.
The two broken bolts in the waterpump had me furious... I had gotten both drilled through and well I made a rookie error on both..
Given I had my father attempt to drill and extract one, tip of the extractor broke with no effort(I should have listened here) and after this he raged and given up, I attempted the other, SLOWLY but surely I managed to get through to the end of the bolt(touched some sort of antiseize, which didn't help for how long the car sat...) and I pumped it with Wurth Rost off and WD-40. Waited a good half hour and still got the left hand extractor snapped with barely any force applied... Honestly, it just broke after being inserted and not even 1/16 turned... Snapped clean. and I returned the kit and seen similar reviews online about it. $90 Sutton Screw extractor kit. Absolute junk... I would have spent $$$ for a good kit honestly... Like I need one in the off chance of this happening, more than happy to invest in it. Anyway... After this ordeal I left it for a few days pretty angry...
So anyway, I had things Hydroblasted and they look spectacular, pity once a bit of heat gets into these they'll look bland
The new Fuel hoses are off to the side, need to take a photo of those too!All these pieces need to be painted, still deciding if I go with the original look, red covers and Quarzo Dolomite for the coilpack and intake manifold covers... Maybe black, but that doesn't suit well as nicely.. No idea yet, why they are still sitting exactly where they are (GIVE ME SOME IDEAS?!
)I have another basket almost ready to go, just sorting the last few things.. then all the zinc coated pieces go to the next shop to be recoated! That reminds me
If anyone knows how to dismantle the AC compressor clutch, and just the clutch, would be awesome because it definitely has the fire retardant in it given the alternator was flooded and I have that split and hopefully hydro blasted fresh!
I feel like I need a special tool that goes into the three small holes next to the shaft and then presses on the shaft to remove the cover, and well.. The wheel and the rest is easy from there from what I'd imagine.
So I recently received the Carrillo pistons for my nugget VW Polo build and went to drop it off at Dandy Engines in Carrum Downs and well.. I asked if they could be able to extract the two bolts out. They said it's possible so I ran home after squeezing out the parking lot, loaded the block and all the lower end bits into the car with my brother(bloody heavy this thing) and drove back down just before they closed for the day. They then told me everything had to be removed from the rest of the block in order to extract the two bolts... I CAN'T BELIEVE IT FFS!!!! Anyway I said go for it, not much else I can do but with that check the specifications, hydroblast and get it together, I'll do the rest. So will see what that will cost... Just to remove two bolts because the water pump was missing its two locating dowels... I'M ANGRY AHHHHHHHHHHHHHHHHHHHHHHHHHHHHHHHHHHHHHHHHHHHHHHHHHHHHH
So with everything out, and the last bathroom vanity gone, I managed to get my TT table from out the back and open it up so I can get some work done. I spent quite a bit of time polishing parts, from the lower engine to all the accessories and small bits that had got some of the fire retardant on them. Stuff will get hydroblasted anyway, that's for the best condition. So I started on the wiring loom.. And well, after comparing plugs I believed it was possible to combine pre-facelift and facelift looms into one. and I'm almost right except there is one wire that was burnt... So I don't know the length on that.
I only cut parts of the burnt side, given I'll be running the exact correct length from the ECU connector to their location. I thought, this might be a good idea to also make notes on all the specifications; from wire gauge, length, colour and crimp terminal pins. And well.. If anyone might need a loom made up, I can do one from complete scratch, given I can find ECU connectors, because they are really the only ones I don't know the name of/can find. Majority are just Narva and JPT connectors... Nothing explicitly fancy and still readily available!
Since I have both styles, should be ok to make them given there are no other alternatives to these two
Anyway, in anticipation of the new turbo and to commence rebuilding, I dismantled the one that I might make a little statue out of haha
This is what happens when a rock or something touches a spinning compressor wheel, It must be stuck in the intercooler somewhere haha
I anyway want to have the turbo compressor side only, externally painted VHT or ceramic coated. Not sure which just yet, I've read about Calyx for coating too for there to be no fade/rust. Should look and function brilliantly
That's all for the moment, I'm thinking the 3D scanning of the vent might be the best, although I have contacted Italy and they have told me they can get a second hand one for me for 150€ and I'm just waiting for a photo of it.. Once I have it, I'll know if I will be getting a few of these made(or taking up that offer); if anyone needs either side vent let me know, I'll try get them made up then and cheaper than Eurospares 199£ for the LHS one and they don't have the RHS available anymore!
Here is a cool photo of what's left of the MAP sensor that was attached to the firewall
Cheers
Last edited: